


The “incognito” dash cam provides the perfect fit and function while keeping the OEM appearance. Installation takes less than 30 minutes and the power source is a direct plug-n-play into the OBD2 port.
Dash Cam Installation Instructions:
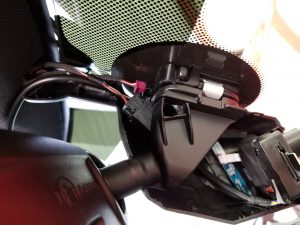
Step 1: Make sure that your factory plastic cover behind the rear view mirror matches the ones depicted in our picture.
Step 2: Use a flat plastic trim removal tool, gently separate the plastic cover from the middle.
Step 3: Align the two halves of the camera and snap them close behind the rear view mirror (be sure to align the locking stud with the opening)
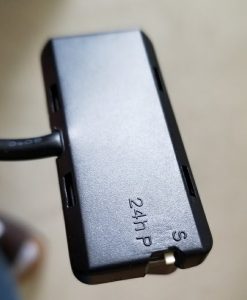
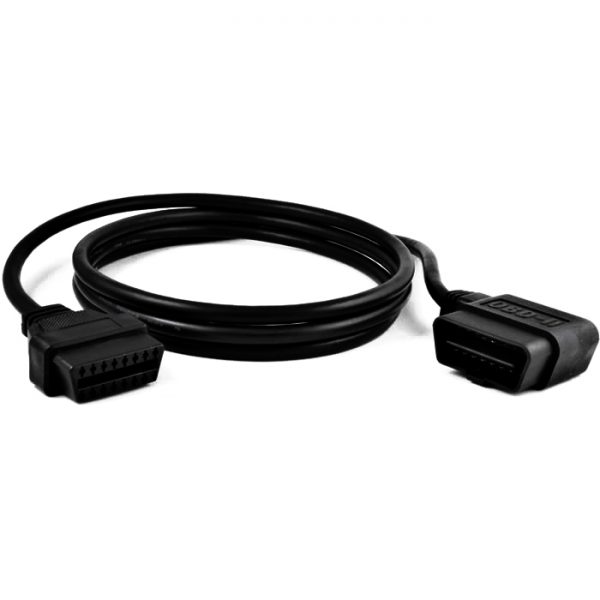
Step 4: Connect one end of the power cable to the camera and the other end to the car’s OBD2 port (test to make sure camera powers on before hiding the wires under the trim). Set the power switch to “S” for smart-power = only comes on when your car is “awake”. Setting it to “P” will keep the camera on 24×7 and this will drain your battery over time (not recommended). But one can use this as a security camera while at a restaurant to it records everything while you’re away from your vehicle as a monitoring device.
Step 5: Scan the QC Code to download the App to your Android Smart phone (use the link below for your Apple devices). Connect to the dash cam by searching for the WiFi name “DVR_xxx”

Step 6: Connect to the WiFi using the password 88888888 (you can always change this later).
Step 7: Insert the MicroSD card into the camera (Maximum supported size is 32GB).
Step 8: Route the wire down the A-pillar and hide the excess under the dash (use zip ties to keep the wires from moving).
Step 9: Customize the App and set recording length.
Step 10: Enjoy your new camera!


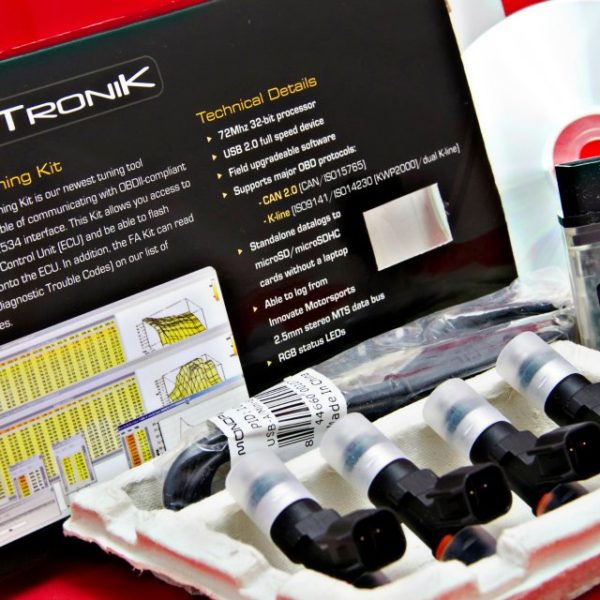
 Learn more in the detailed Description below!
Reviews
There are no reviews yet.